First, locate the yellow wire coming out of the back of the headlight switch
harness. On my 1999 it is pin #15. You can interrupt the wire here or connect
at one of the locations noted below. Removing the switch can be difficult.
There is a small spring loaded plastic lever on the top that must be slid to the
right to release the catch. I suggest finding the wire elsewhere to make the connections.
On later models the yellow wire goes to the hand brake disconnect relay. You
may find it in the middle of the dash behind the cup holder. Look for a large
relay with the number “94” on it. Later models may have the number “206”. The
yellow wire connects here and comes out the other side yellow with a white stripe.
On models without the hand brake disconnect, the wire may travel all the way across
the dash inside a piece of black tubing. You may find the end of this harness
under the dash on the passenger side.
The yellow wire comes out of the black tubing and loops back in on the way
to the fuse panel. This is how it was on my 1999. If you can find this, cut the
wire where it loops (it is looped around a tie wrap) and remove the harness from
the tie wraps holding it in place. Push the end of this harness through the hole
in the dash where the switch will be located. If you have the relay in the middle
of the dash splice into the yellow/white wire. This way the pilot light on the
switch will only work when the DTRL’s are actually on. It will turn off when the
hand brake is set. Using butt connectors splice in two pieces of 16 AWG wire about
two feet long. Route these wires up through the dash.
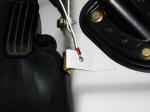 |
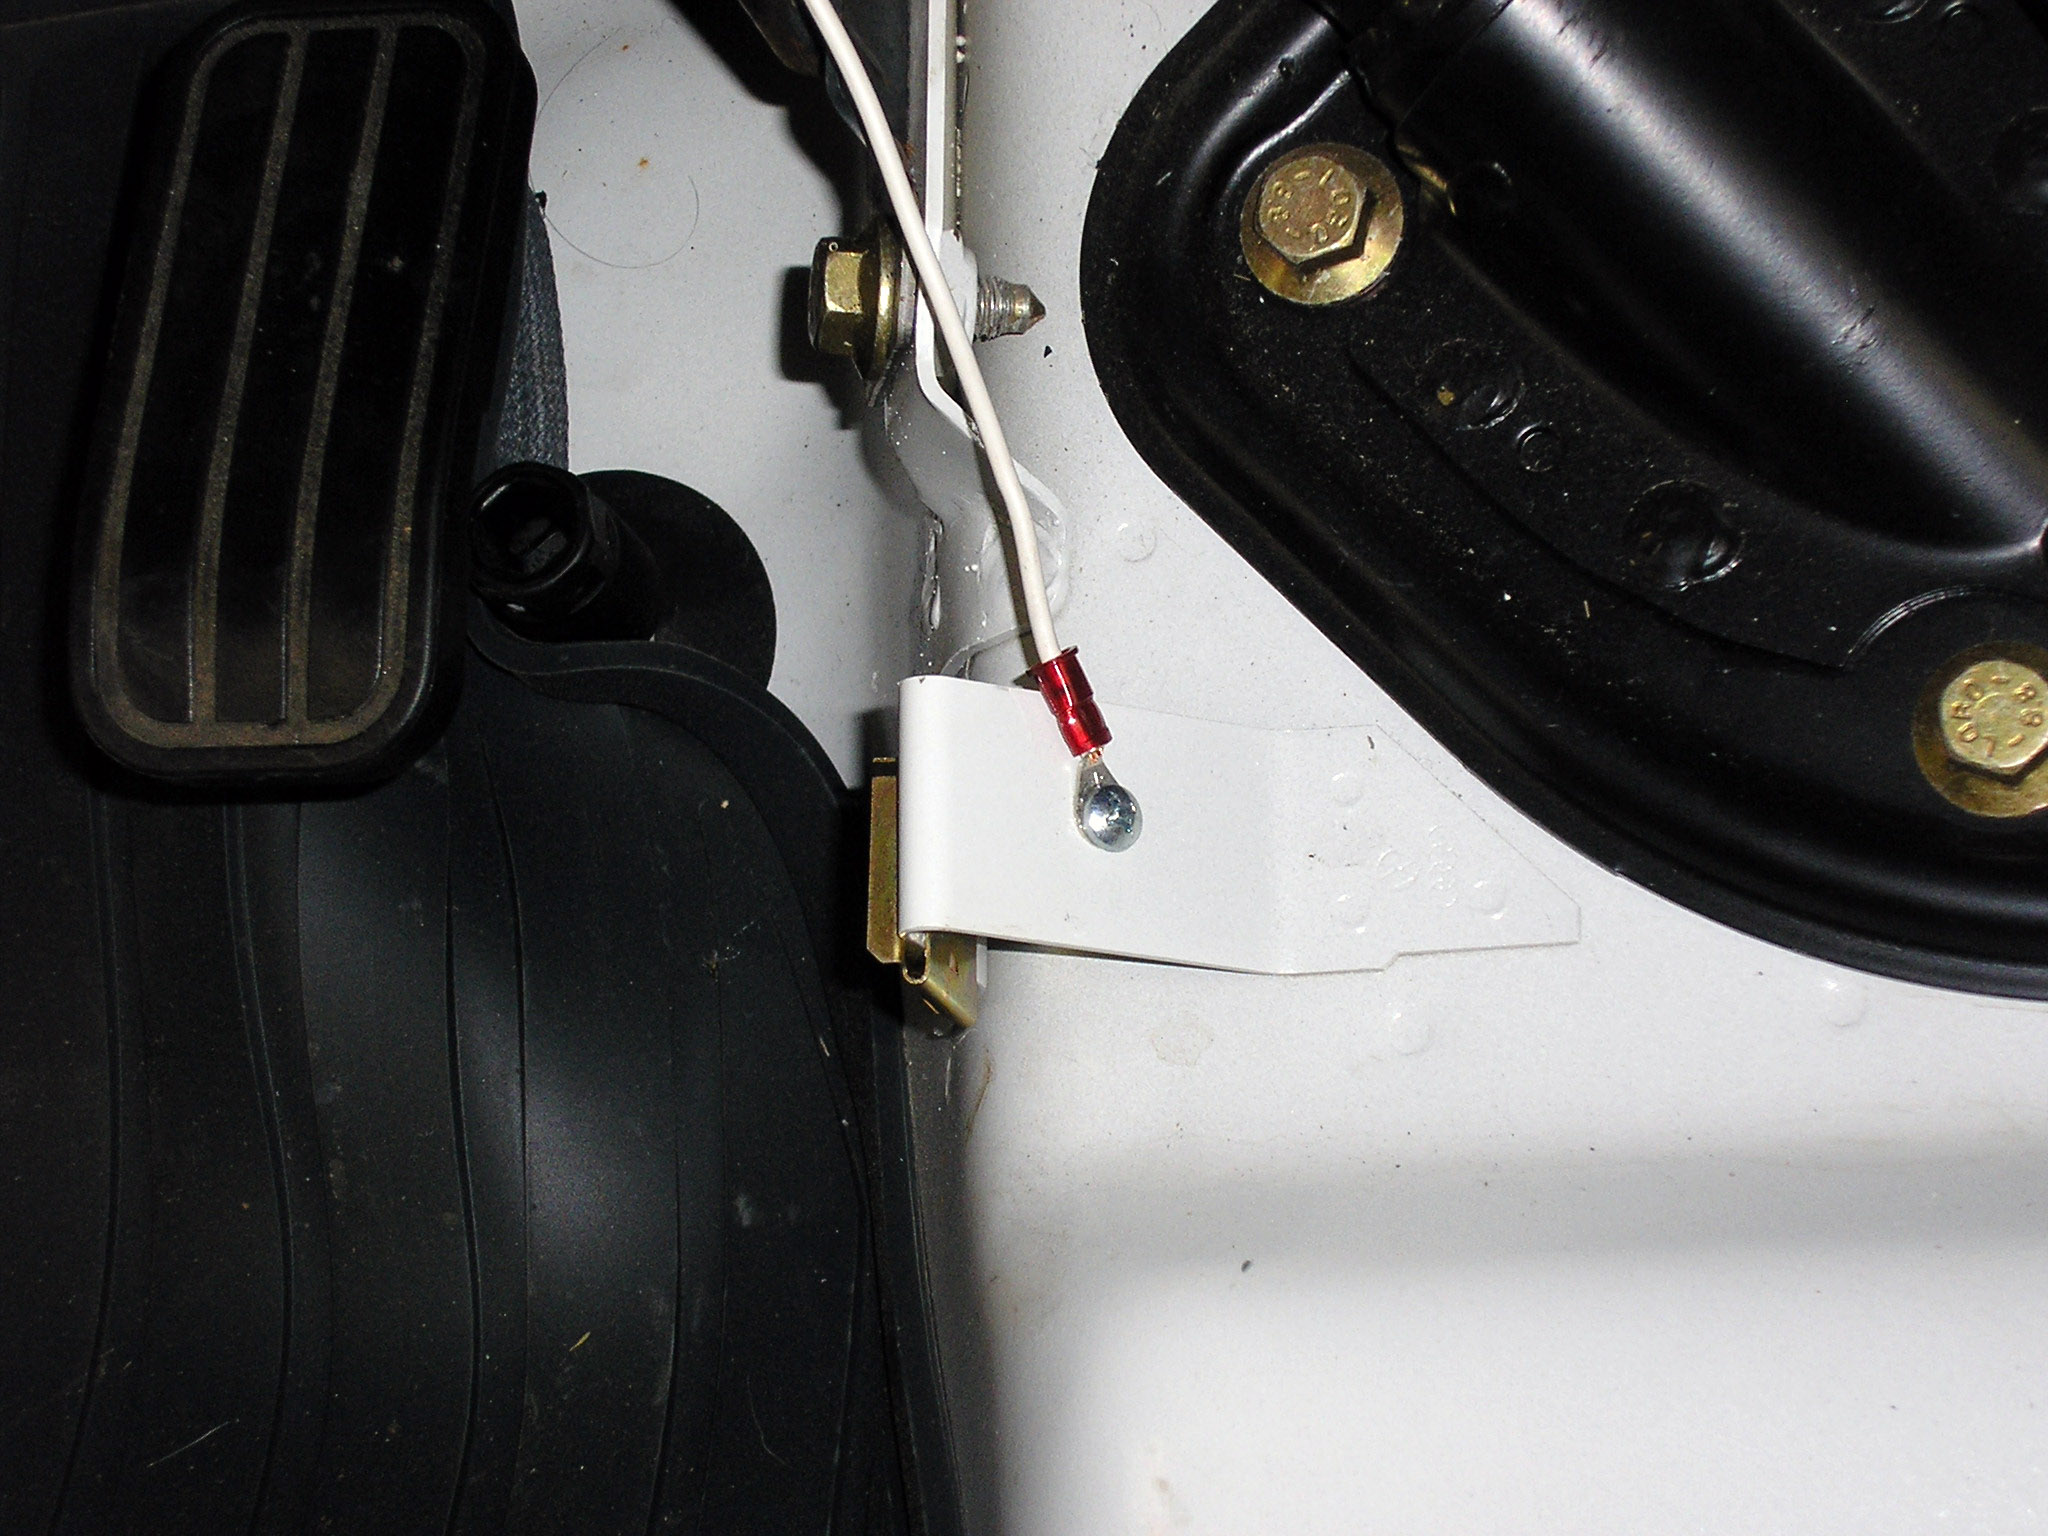
If you choose to install a switch with a pilot light you will need a
ground. Crimp on a eyelet connector on one end of a three foot piece of
16 AWG wire and screw to the metal angle on the floor (photo 1). Run this
wire up to the switch location with the other wires. |
|
Click on image to view full size
|
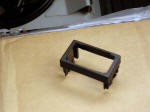 |
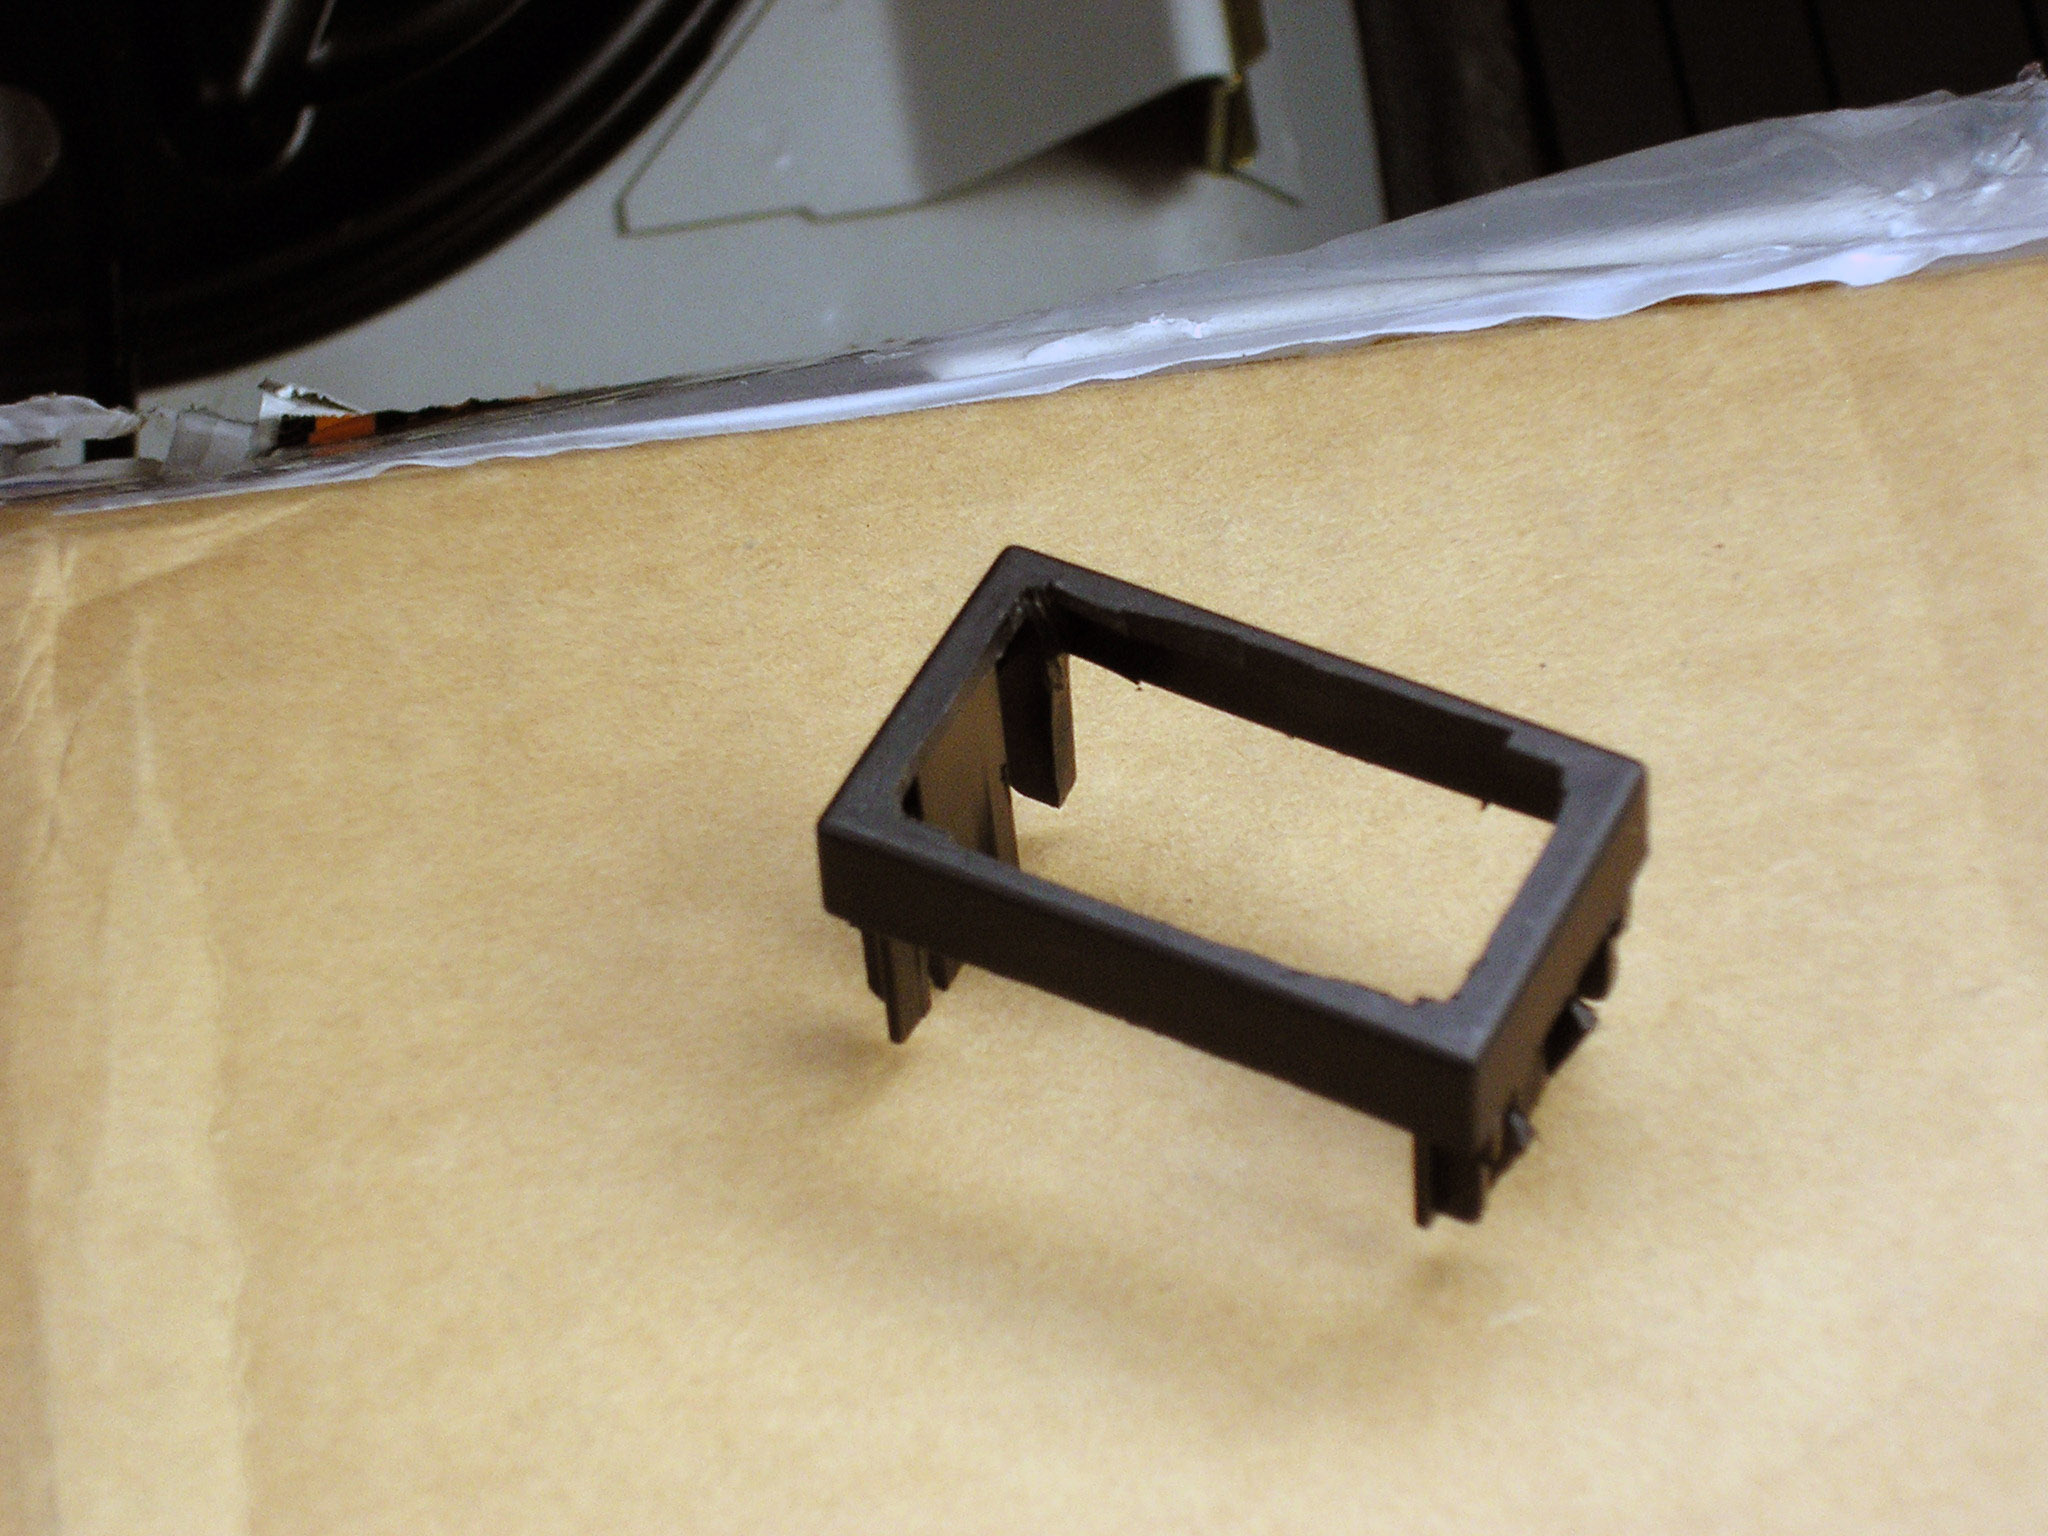
Once you have pulled your wires, cut out the center of one of the
filler plates in the dash to accept the switch (photo 2). I was able to
use a sharp utility knife and remove a little at a time. Test fit the
switch when you get close.
|
|
Click on image to view full size
|
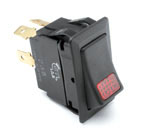 |
I used a Cole
Hersee switch purchased from
West Marine.
Cole Hersee #58328-001BP, West Marine #147939, cost $10.99. It comes
with several different color snap in lenses for the pilot light.
|
|
Click on image to view full size
|
 |
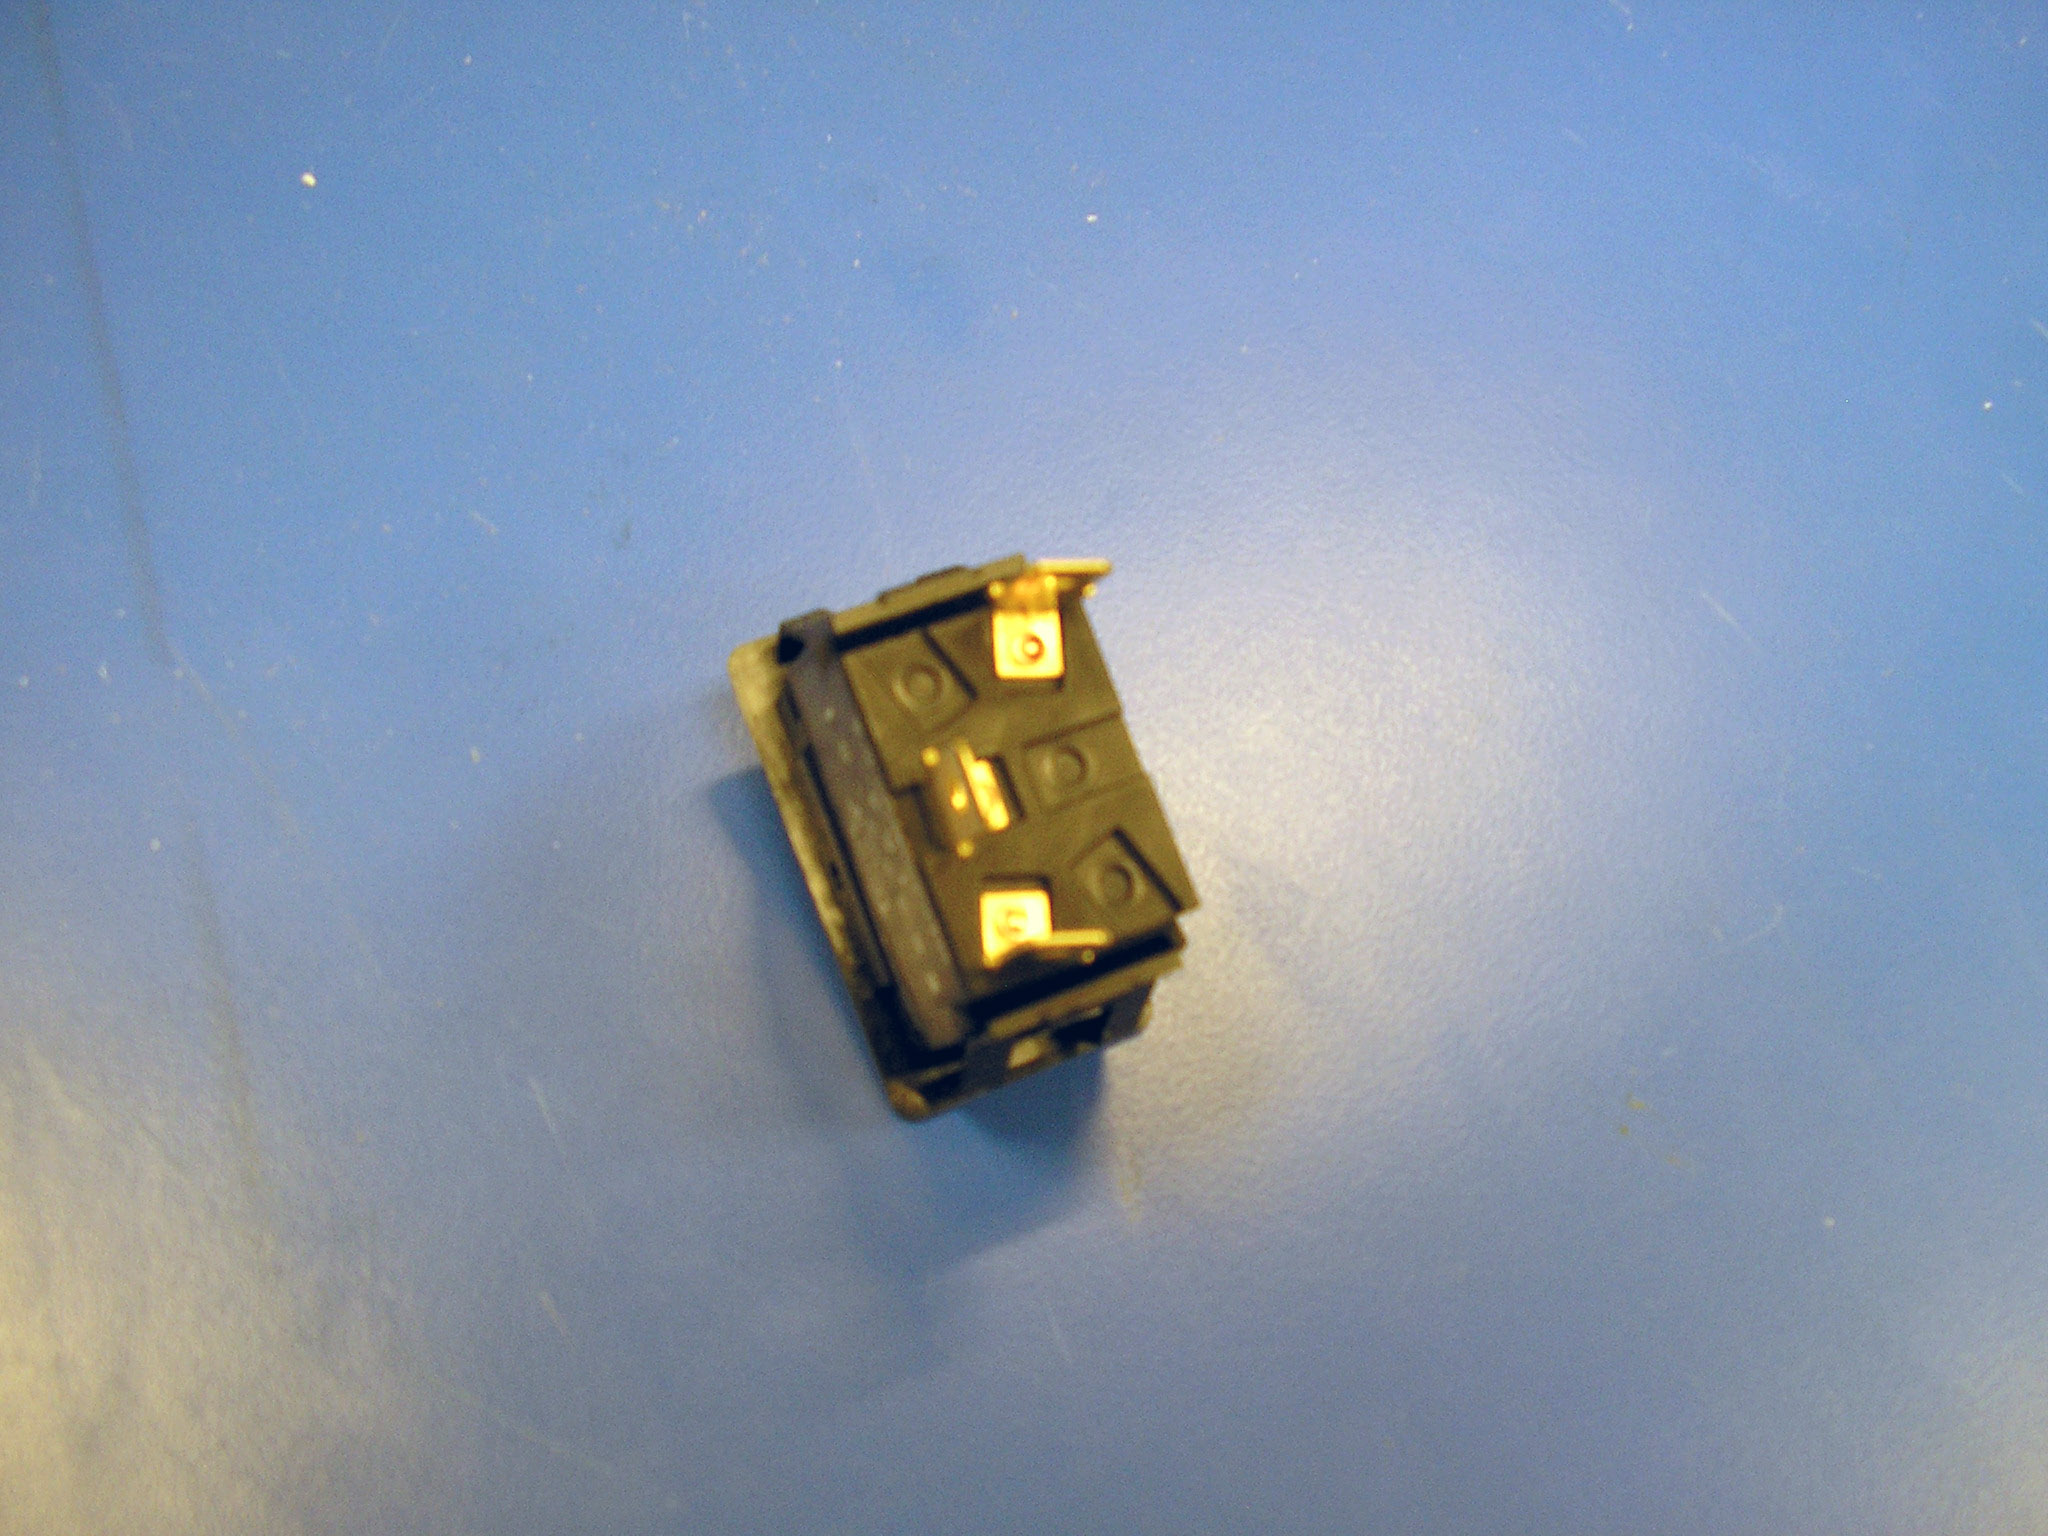
Photo 3 is the back of this switch. Connect the ground wire to
the top terminal, connect the 12 volt supply coming from the headlight
switch or relay (use a test light or volt meter to confirm) to the
middle terminal and connect the load to the bottom terminal.
I chose to add an inline fuse (15 amp) to the supply wire where it
connects to the switch. This is because my first attempt to install
a switch melted the wire harness ($40 replacement at a wrecking yard).
The first switch I used was a cheap brand from an auto supply store
that shorted the load wire to the headlights to ground when the switch
was turned off. When I turned on the headlights when the rocker switch
was off this caused a direct short to ground. Very smelly mess. This
should not happen with the Cole Hersee switch. |
|
Click on image to view full size
|
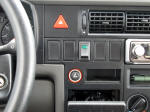 |
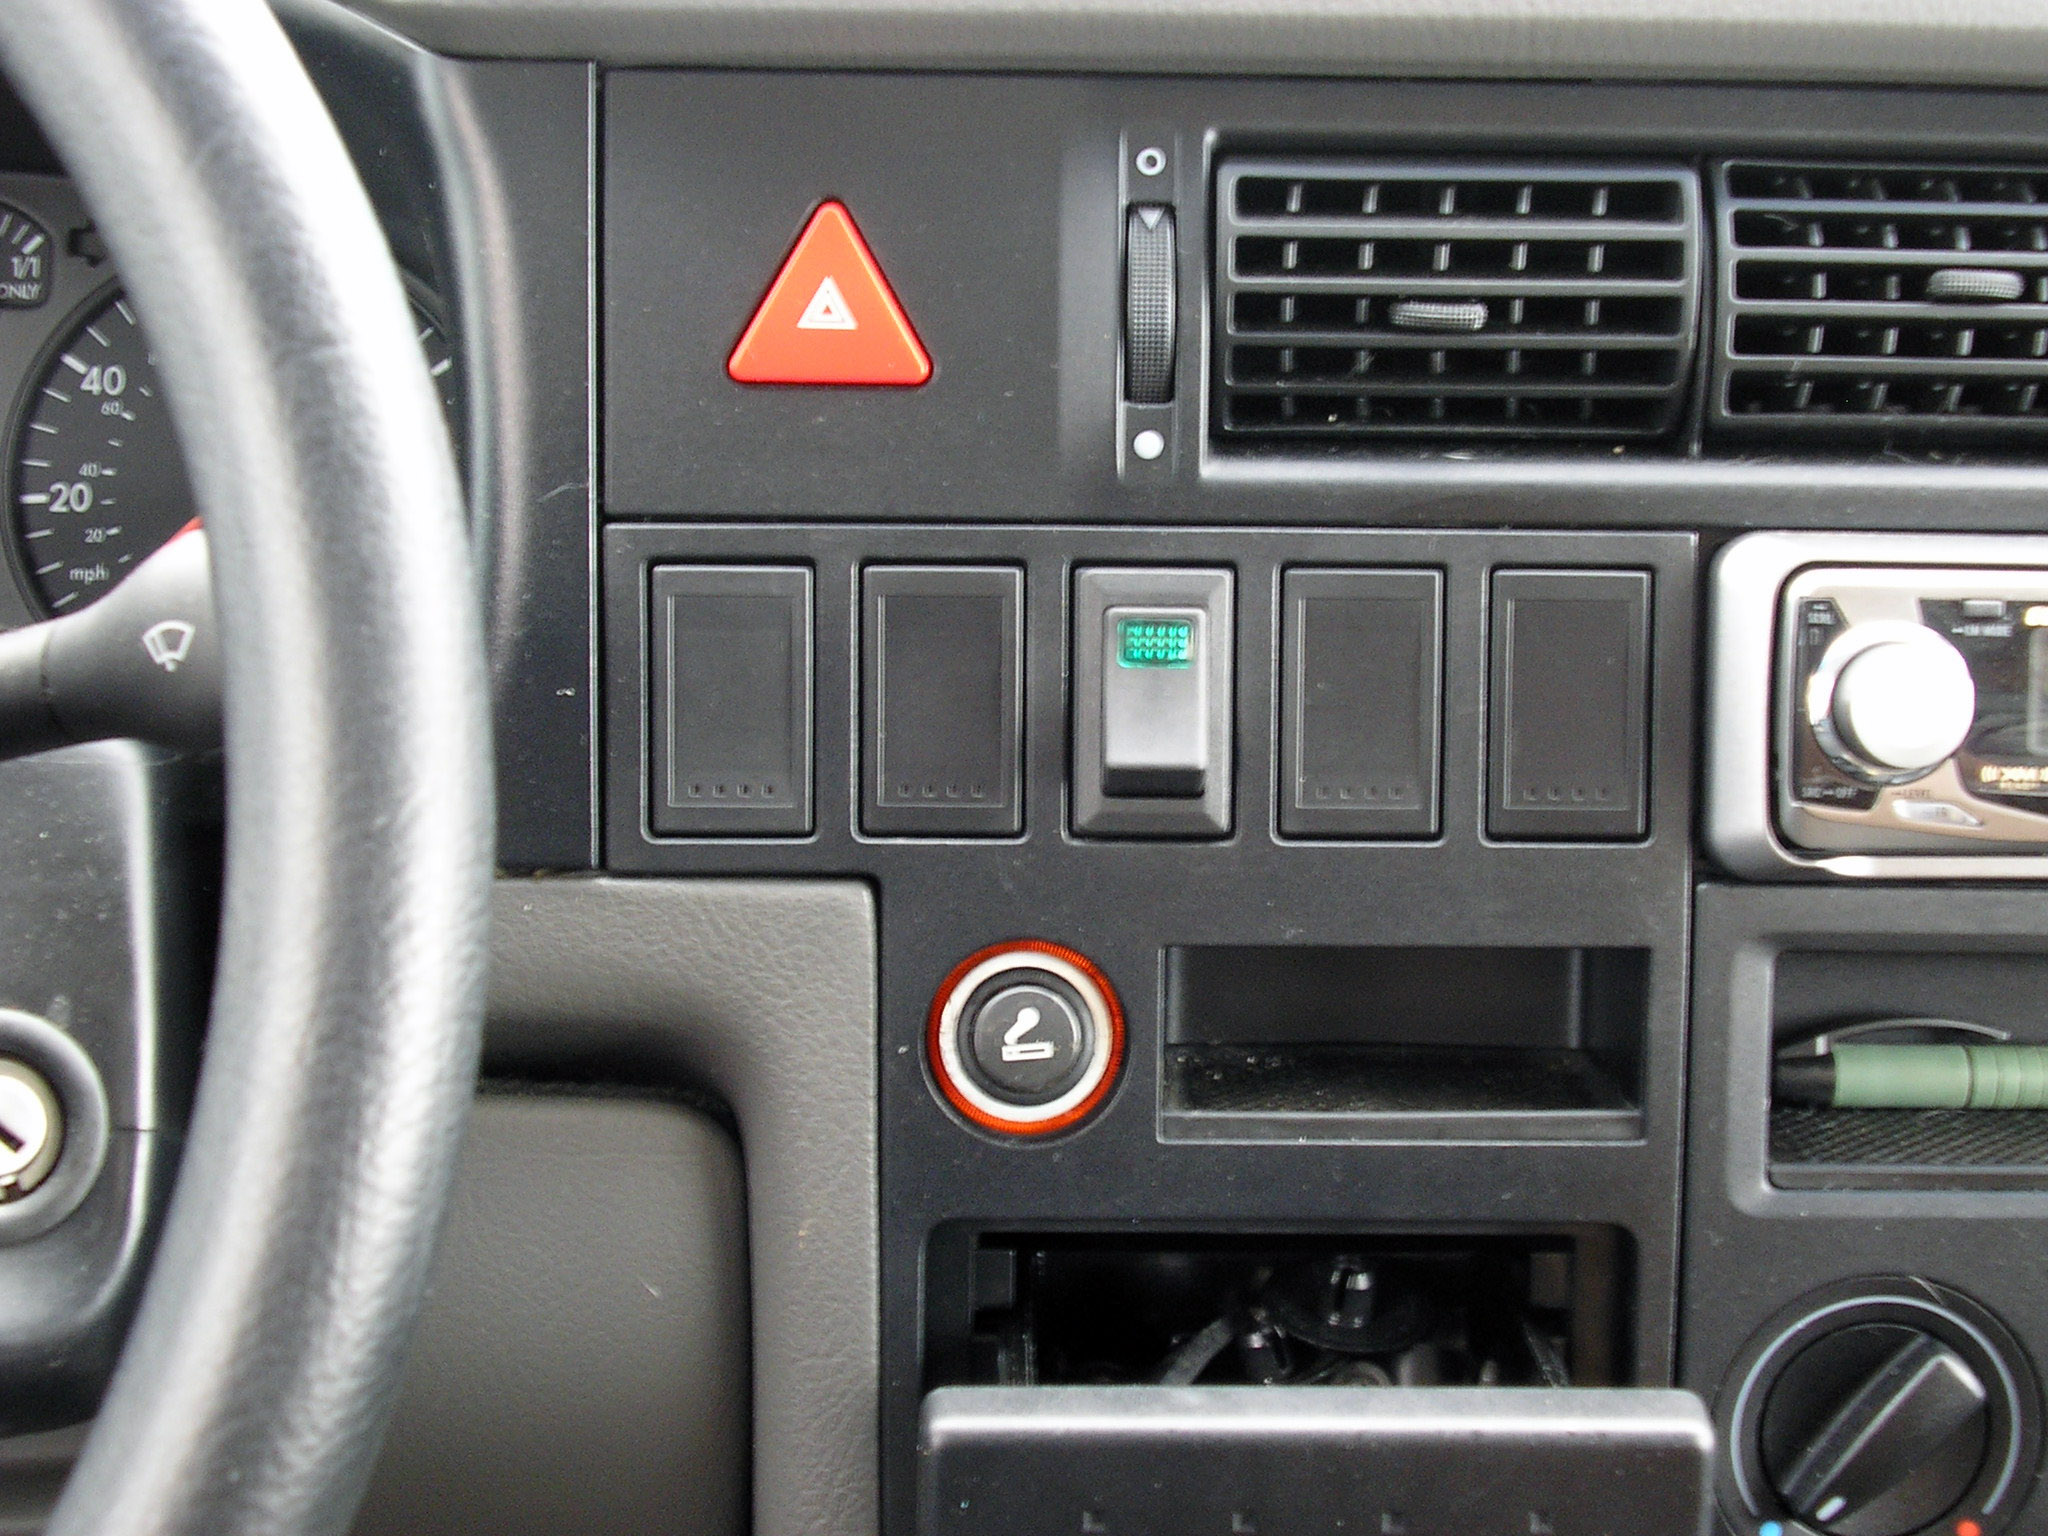
As you can see in the final photo #4, I have removed the rear
defrost switch and pushed the connector inside the dash. This switch
no longer controls the rear window defrost, but it does control the mirror
and windshild washer heaters, so you may want to leave it in place. You can purchase
another filler piece from VW, but they run about $17. |
|
Click on image to view full size
|