Exterior Power Inlet

 [ HOME ]

Model Information

► Miscellaneous
► Accessories
► Floor Plans & Specs
► How To Buy Or Sell A Rialta
► Known Problem Areas
► Modifications, VW & Coach
► New to RVing? Info here
► Pros & Cons of a Rialta
► Vehicle Checklist
► VIN Information
► Winter RV Storage

VW Service

► Air Conditioner
► Brakes
► Door & Locks
► Engine Battery
► Engine Repair Information
► Filters
► Fuses: Dash & Engine
► Mechanics & Dealers List
► NHTSA Recall Notices
► Oil Change
► Parts Diagrams
► Radiator & Coolant
► Serpentine Belt
► Service & Tech Bulletins
► Spark Plugs & Ignition Wires
► Transmission Service

Winnebago Service

► Appliance Recalls
► Bulbs
► Caulking and Sealants
► Coach Batteries
► Electrical Breakers & Fuses
► Furnace & Thermostat
► Generator
► Microwave, Range & Oven
► NHTSA Recall Notices
► Paint Codes
► Parts Catalog
► Plumbing Diagrams
► Refrigerator
► Service Bulletins
► Shocks and Air Springs
► Shower
► Supplier Links
► Tires & Wheels
► Toilet
► Water Heater
► Water Pumps & Filters
► Winnebago Corporate Info
► Wiring Diagrams

Tours & Pictures

► Public RV Sanitary Dumps
► Strange & Unusual Places
► Winnebago Factory Tour

   ► Related Links


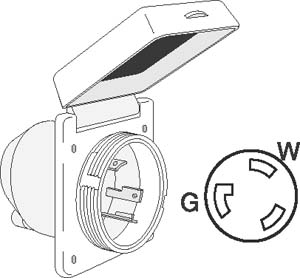
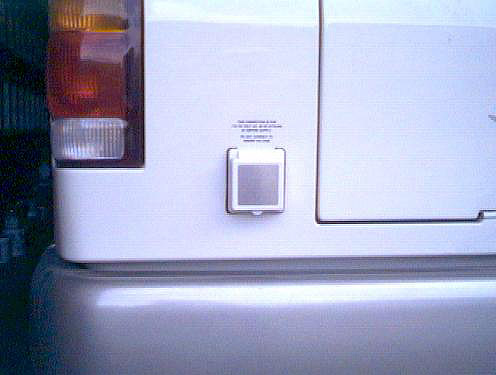
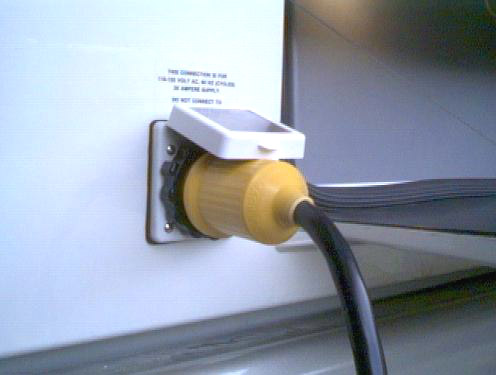
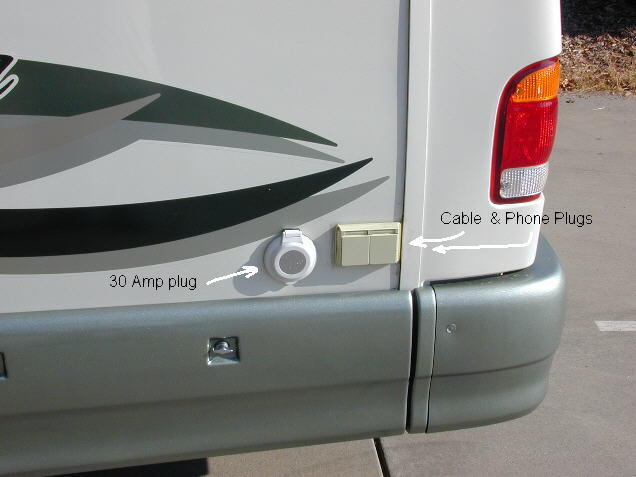
The exterior power inlet is usually done in conjunction with adding an Automatic Transfer Switch but some owners merely want to get rid of the hassle of bending over and trying to fish the shore power cord through the bottom of the rear compartment.  Instead they want the convenience of pulling out a rolled-up shore power cord and plugging it right into the receptacle on the back of the Rialta.
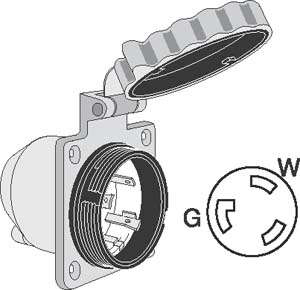
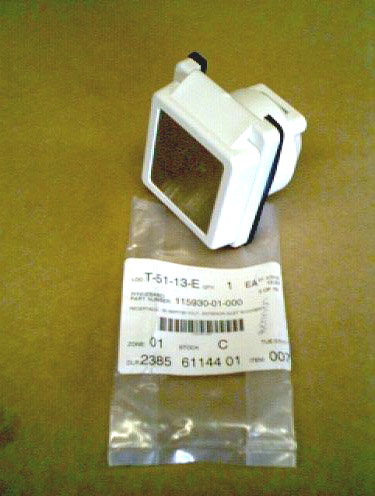
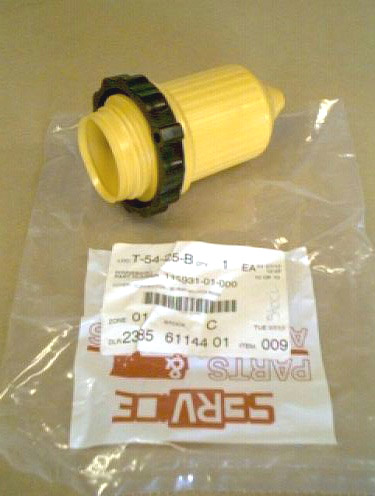
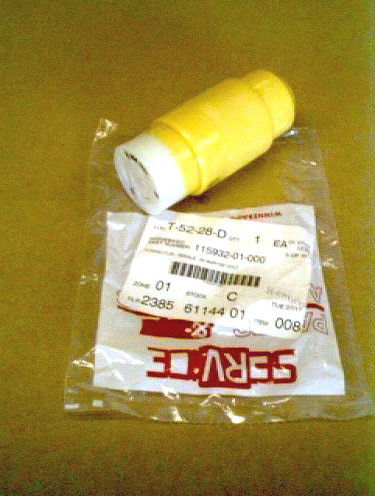
These photos outline the general steps necessary to install an exterior power inlet.  There are several different brands of parts so make sure you get all the same brand so that everything will fit together.


Also, you will need to consider how to connect the new power inlet to the existing cord leading from the Magnatek converter box inside the coach.  As originally equipped from the factory, the shore power cord is nothing more than a big extension cord wired direct to the Magnatek box.  When running a generator, this cord plugs into the generator receptacle.  When in a campground, this cord plugs into the campground receptacle.

There are a few different way to accomplish this.  If you are planning to install an Automatic Transfer Switch (ATS), then this power inlet gets hard-wired to the ATS box.  See that page for further instructions.  If you are not planning on installing an ATS, you might consider the "Manual Transfer Switch" (MTS) which is nothing more than an electrical box with a switch on it.  Both the generator and the exterior power inlet are hard wired to the MTS.  The disadvantage is that you must stick your head inside and flip the switch each time you change from generator to shore power.

Alternatively, you could cut the existing shore power cord to about 3 or 4 feet long and install a male plug on the end.  You could then install a female plug receptacle right inside the exterior power inlet.  You then move the short shore power cord between the two choices of receptacles, either the generator or the exterior inlet.

Regardless of what choice you decide upon for the wiring hookups inside the rear compartment, you will need a shore power cord with the male plug on one end and a female plug on the other end, just like a big extension cord.  You can probably use the existing shore power cord that you cut off inside the rear compartment thereby utilizing the male plug on one end and you'd only have to install the female plug on the other end.  This shore power cord can now be rolled up and stored wherever and however you please.  See the Jack Handle & Shore Line Storage mod for one idea.


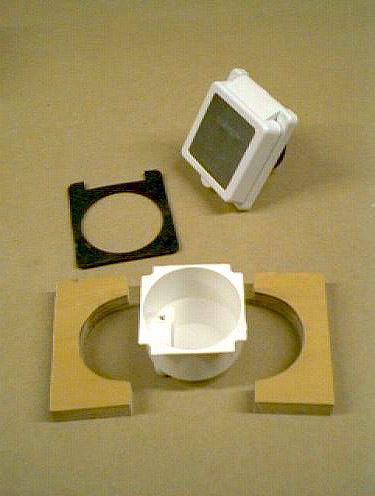
Some of the various parts necessary.


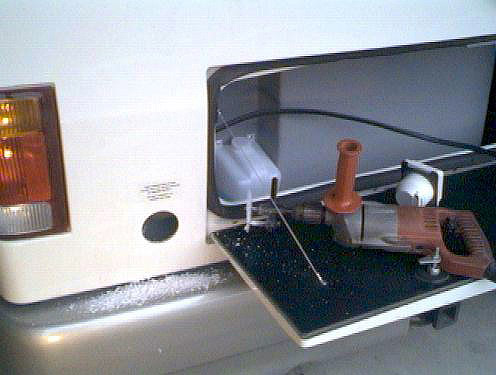
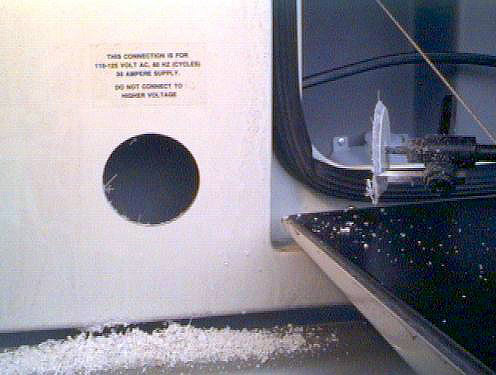
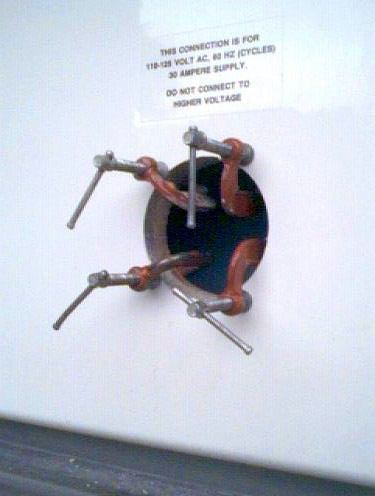
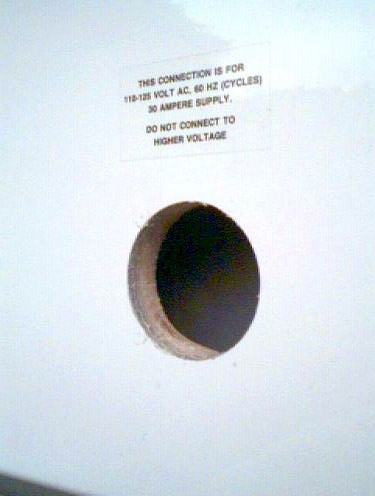
You are actually drilling a hole through the outer skin of the Rialta
and through the plastic liner of the rear compartment.


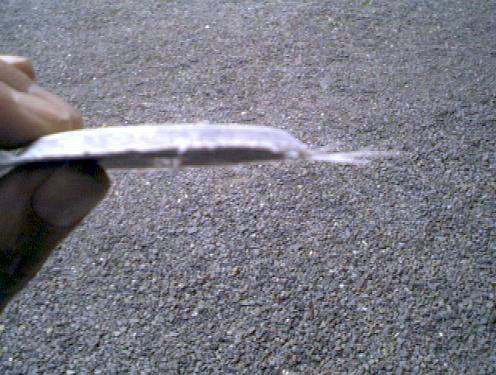
With spacers between the outer skin and the plastic liner glued in place, the exterior
power inlet can be installed and wired to your choice or method of operation.

Another location


Additional Modifications:

[ Arm Rest Removal ] [ Automatic Transfer Switch ] [ Awning ] [ Bathroom Shelf & Basin ] [ Battery Disconnect ]
[ Belly-Pan Cutout ] [ Bicycle Rack ] [ Cabinet Storage ] [ CB Radios ] [ Center Console ]
[ Closet Shelf ] [ Coach Door Seals ] [ Coach Entry Floor ] [ Computer Table ] [ Convex Door Mirror ]
[ Curtain Track ] [ Door Catch ] [ Daylight Running Lights ] [ DVD Conversion ] [ Entertainment Center ]
[ Entry Handrail ] [ Exterior Power Inlet ] [ Exterior Shower Drain ] [ Fuel Pump Jumpers ] [ Furnace Vent ]
[ Galley Faucet ] [ Generator Fuel Cutoff ] [ Granite Countertop ] [ Headboard ] [ Jack Handle Storage ]
[ LCD TV Conversion ] [ LED Bulbs ] [ Magnum Shooters ] [ Map Box ] [ Microwave Convection Oven ]
[ Propane Detector ] [ QD-H Conversion ] [ Rear Axle Stiffener ] [ Rear Couch Foam Roll ] [ Heat Control Label ]
[ Rear Seat Kick Panels ] [ Refrigerator DC Mode ] [ Refrigerator Conversion ] [ Roof Air 13,500 ] [ Roof Rack ]
[ Satellite Dish ] [ Sewer Dump Valve ] [ Sewer Hose Storage ] [ Shade Standoffs ] [ Shower Faucets ]
[ Shower Filter ] [ Simple Shoreline Conversion ] [ Skylight Panel ] [ Spare Tire Carrier ] [ Super Freezer ]
[ Throttle Body Cleaning ] [ Transmission Dip Stick ] [ Trunk Handle ] [ Wheel Covers ]  


[ HOME ]
No images, artwork, or photographs may be used without  permission.
Page Updated: 19 February 2015